Planning a swimming pool is exciting, but before the excavation equipment arrives, there are several important steps that need to happen. A well-prepared site helps avoid delays, unexpected costs, and construction issues. This pool excavation checklist walks homeowners through everything that should be addressed before dig day.
Knowing what to expect ahead of time helps ensure the excavation phase is smooth, efficient, and accurate.
Pool excavation sets the foundation for the entire pool project. Skipping preparation steps can lead to:
Using a pool excavation checklist helps homeowners stay organized and ensures nothing is overlooked.
Before excavation begins, the pool design should be finalized. This includes:
Accurate plans ensure the excavation contractor can dig precisely to specifications.
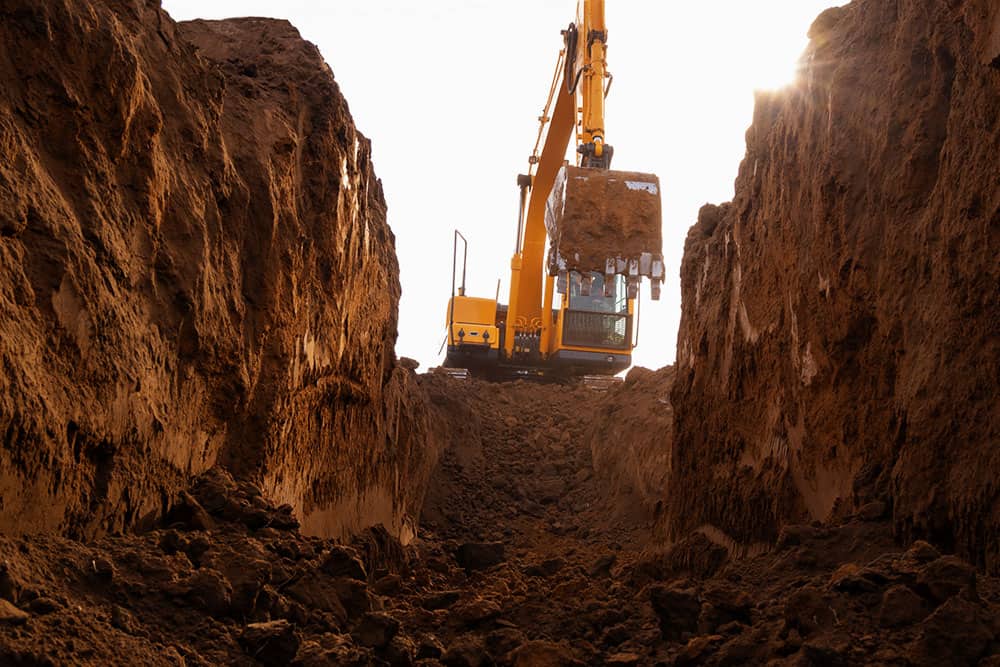
Excavation equipment requires safe, unobstructed access to the backyard. Homeowners should:
Clear access helps excavation crews work efficiently and safely.
Underground utilities must be identified before excavation starts. This step is critical for safety and project efficiency.
Before dig day:
Professional excavation contractors ensure proper procedures are followed.
Soil conditions play a major role in pool excavation success. During preparation, excavation professionals evaluate:
If needed, additional measures like soil correction or helical pier installation may be recommended.
Clear communication between the pool builder and excavation contractor is essential. Coordination helps:
Direct communication ensures excavation supports the next phase of construction.
Excavation involves heavy equipment and active work zones. Homeowners should plan for:
Being prepared helps excavation day go more smoothly.
Excavation doesn’t end when digging is complete. Homeowners should understand what happens next, including:
Knowing these steps helps set realistic expectations.
Homeowners can avoid issues by:
Following a pool excavation checklist helps prevent these problems.

If you’re planning a new pool and want expert excavation handled with precision and care, Pacesetter Excavation provides professional pool excavation services built on experience and reliability. Work with Pacesetter Excavation to start your pool project the right way.